Creating a CoreImage Filter with a Metal Shader
How to setup Xcode to build a Metal Shader for use with a custom CoreImage Kernel
In my recent article explaining how to make a metaball style iOS Shape Morphing effect I glossed over how to use a Metal CoreImage filter; instead of using the deprecated Core Image Kernel Language Shader.
The reason for glossing over it because it is annoyingly complicated!
Where as showing you how to use the Core Image Kernel Language Shader based shader as as simple as this:
// LumaThresholdFilter.swift

class LumaThresholdFilter: CIFilter
{
	var threshold: CGFloat = 0.5

	static let thresholdKernel = CIColorKernel(source:"""
kernel vec4 thresholdFilter(__sample image, float threshold)
{
	float luma = (image.r * 0.2126) + (image.g * 0.7152) + (image.b * 0.0722);
	return (luma > threshold) ? vec4(1.0, 1.0, 1.0, 1.0) : vec4(0.0, 0.0, 0.0, 0.0);
}
""")!

	//

	@objc dynamic var inputImage : CIImage?

	override var outputImage : CIImage!
	{
		guard let inputImage = self.inputImage else
		{
			return nil
		}

		let arguments = [inputImage, Float(self.threshold)] as [Any]

		return Self.thresholdKernel.apply(extent: inputImage.extent, arguments: arguments)
	}

}
To explain how to use the Metal shader version requires quite a few more steps.
Custom Core Image Filters with Metal Shaders
Unlike with Core Image Kernel Language shaders you can't just include the shader as a string. Instead them most be in separate .metal files.
This has positives: like compile time error checking; and negatives: no tricks involving dynamic manipulation/generation of shaders.
So to start with we'll move our thresholdFilter shader function from the string into its own file LumaThreshold.metal.
Except no. We'll actually name it LumaThreshold.ci.metal not because we have to, but because it'll help us later.
// LumaThreshold.ci.metal

#include <metal_stdlib>
using namespace metal;
#include <CoreImage/CoreImage.h>

extern "C" float4 lumaThreshold(coreimage::sample_t pixelColor, float threshold, coreimage::destination destination)
{
	float3 pixelRGB = pixelColor.rgb;

	float luma = (pixelRGB.r * 0.2126) + (pixelRGB.g * 0.7152) + (pixelRGB.b * 0.0722);

	return (luma > threshold) ? float4(1.0, 1.0, 1.0, 1.0) : float4(0.0, 0.0, 0.0, 0.0);
}
Now to load this in our CoreImage filter subclass we'll load it like this:
static var thresholdKernel: CIColorKernel = { () -> CIColorKernel in
	let url = Bundle.main.url(forResource: "LumaThreshold", withExtension: "ci.metallib")!
	let data = try! Data(contentsOf: url)

	do {
		return try CIColorKernel(functionName: "lumaThreshold", fromMetalLibraryData: data)
	}
	catch {
		print("\(error)")
		fatalError("\(error)")
	}
}()
If you were observant you might notice we made a LumaThreshold.ci.metal file in the source code, but are now loading a LumaThreshold.ci.metallib file at runtime.
When we try to build and run the app now we'll get a crash with the error message:
> let url =
^ MetaballEffectFilter.swift:56: Fatal error: Unexpectedly found nil while unwrapping an Optional value
That's because first we need to preprocess the Metal files; unfortunately, Xcode doesn't do this automatically for you.
The WWDC 2020 video Build Metal-based Core Image kernels with Xcode shows you how to set up the needed custom build steps.
However, if yo follow it exactly you will get more runtime errors, as the instructions are slightly wrong.
As of June 2022 using Xcode 13.4.1 these are the needed steps:
# First convert LumaThreshold.ci.metal to LumaThreshold.ci.air
xcrun metal -c $MTL_HEADER_SEARCH_PATHS -fcikernel  "LumaThreshold.ci.metal" -o "LumaThreshold.ci.air"

# Then convert LumaThreshold.ci.air to LumaThreshold.ci.metallib
xcrun metallib -cikernel "LumaThreshold.ci.air" -o "LumaThreshold.ci.metallib"
To do this automatically we'll setup some custom build rules like suggested in the WWDC video.
In the Xcode Project Settings > Build Rules tab, click on the + icon to setup a new build rule.
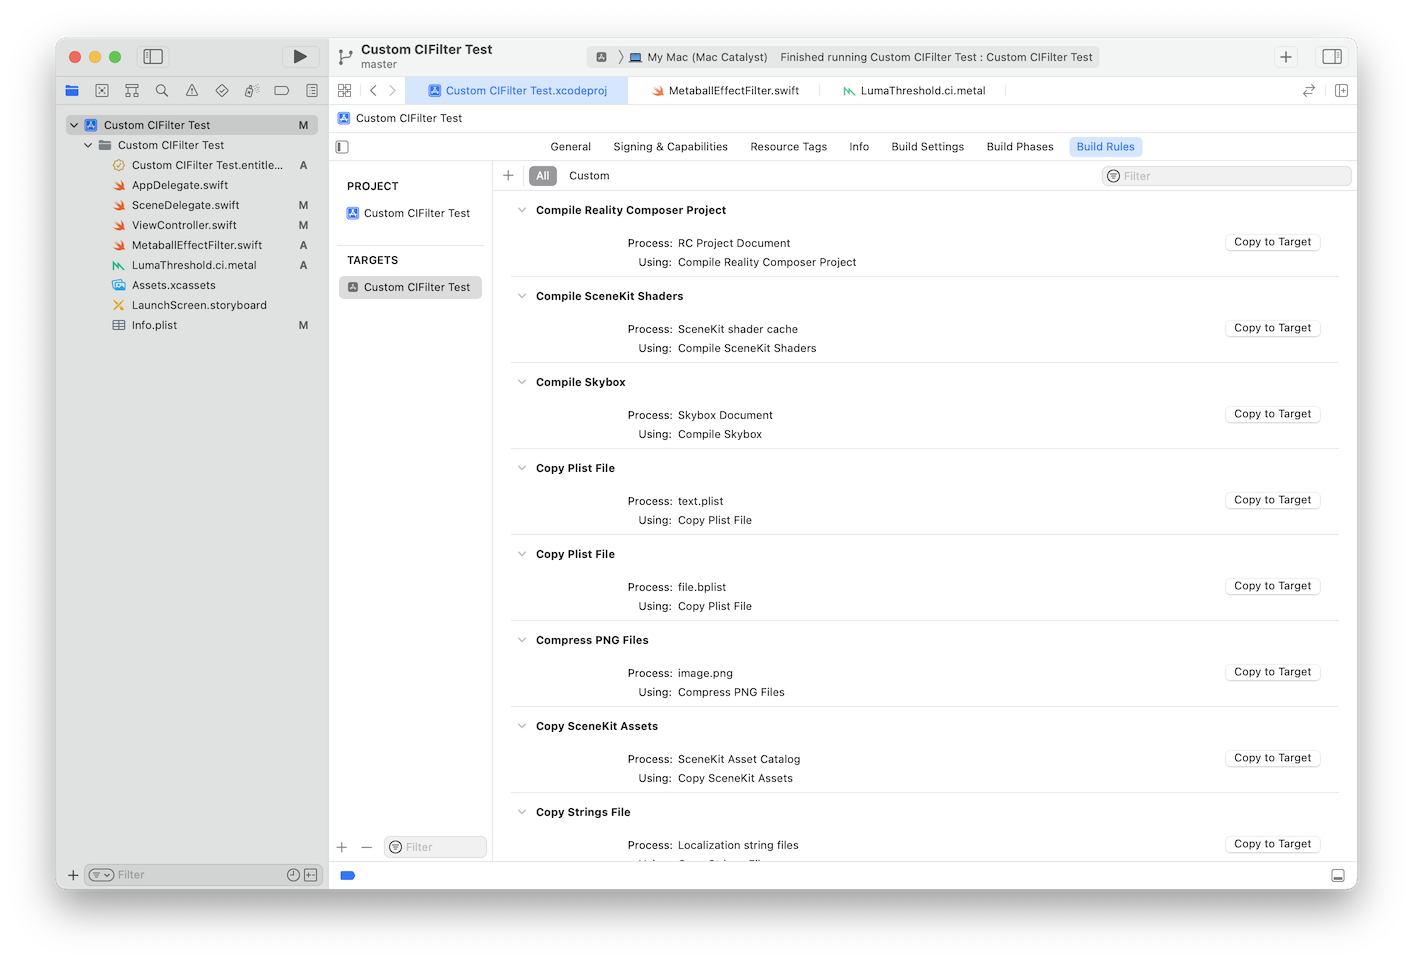
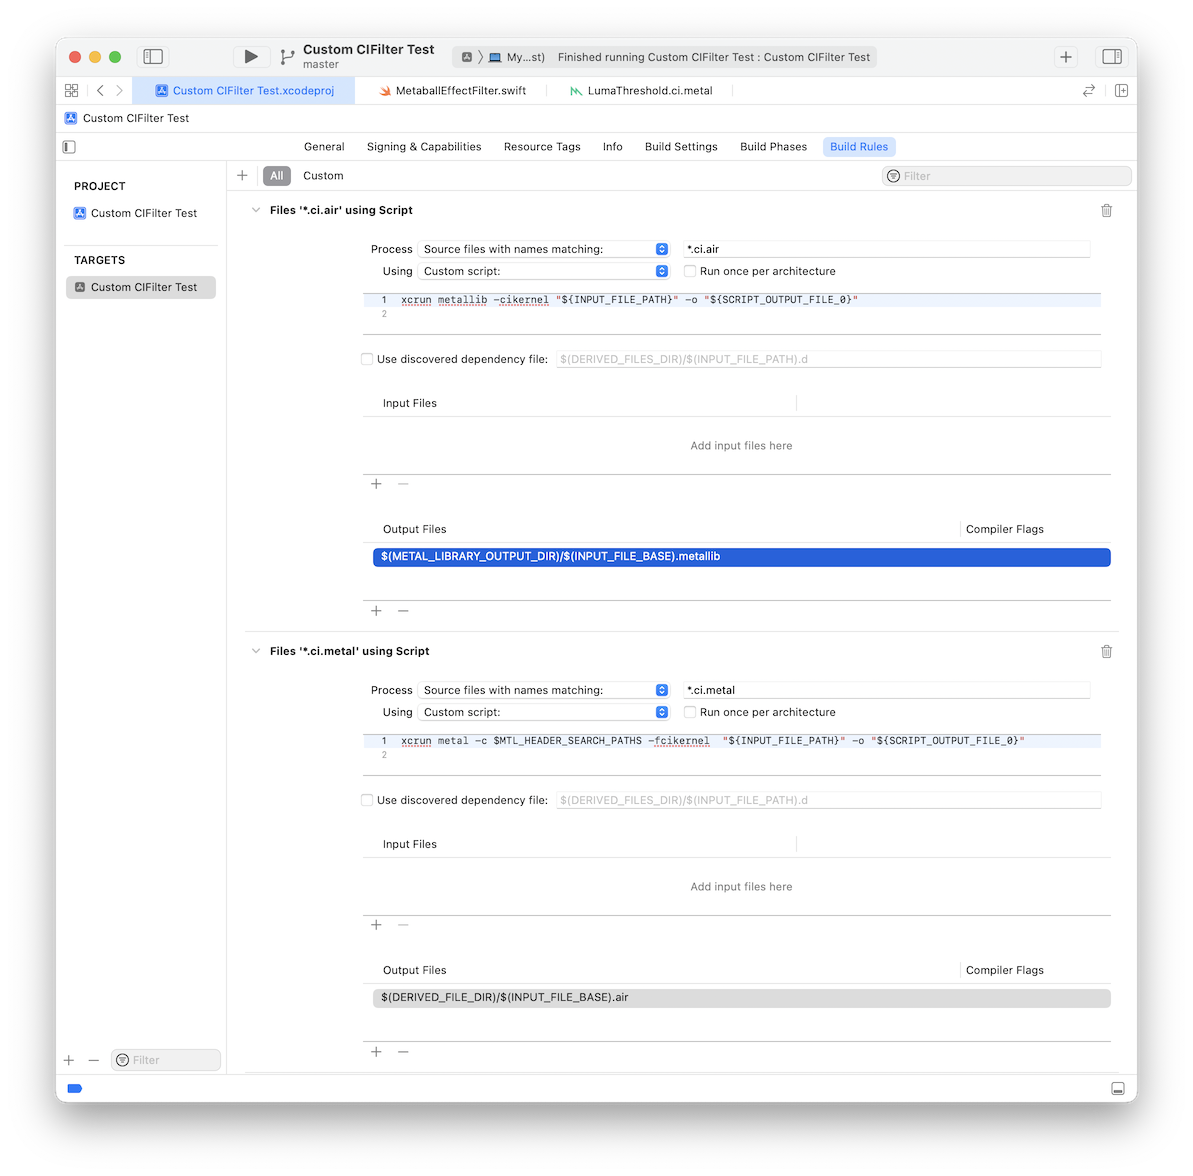
Then create 2 new rules:
First the one for *.ci.metal files.
This is why we named it .ci.metal, instead of just .metal. So we can process this separately from any non CoreImage related Metal files we might have.
Source files with names matching: *.ci.metal
[ ] Run once per architecture
Custom script:
xcrun metal -c $MTL_HEADER_SEARCH_PATHS -fcikernel "${INPUT_FILE_PATH}" -o "${SCRIPT_OUTPUT_FILE_0}"
Output Files
$(DERIVED_FILE_DIR)/$(INPUT_FILE_BASE).air
Next step a step to turn these files into new .air files into *.metallib.
Source files with names matching: *.ci.air
[ ] Run once per architecture
Custom script:
xcrun metallib -cikernel "${INPUT_FILE_PATH}" -o "${SCRIPT_OUTPUT_FILE_0}"
Output Files
$(METAL_LIBRARY_OUTPUT_DIR)/$(INPUT_FILE_BASE).metallib
NOTE: The first above command is slightly different from the one in the WWWDC video.
The WWDC video from 2020 shows this command:
xcrun metal -c -I $MTL_HEADER_SEARCH_PATHS -fcikernel "${INPUT_FILE_PATH}" -o "${SCRIPT_OUTPUT_FILE_0}"
If you use that however, it will strip out the function during linking and when you run the project you will get this error:
MetaballEffectFilter.swift:64: Fatal error: Error Domain=CIKernel Code=1 "(null)" UserInfo={CINonLocalizedDescriptionKey=Function does not exist in library data.
The problem is the -I remove that and your build scripts setup should work fine.
If we build and run now, we should have a fully working CoreImage filter using a Metal Shader.